
How to Prepare Substrates for Resurfacing
When it comes to resurfacing systems like microcement, substrate preparation is one of the most important steps in achieving a durable, long-lasting finish.
No matter how high-quality the coating system is, poor substrate preparation can lead to failures such as cracking, delamination, bubbling, or inconsistent finishes.
For contractors, proper preparation is what separates a professional result from a costly callback.
Why Substrate Preparation Matters
One of the key advantages of microcement is the ability to resurface over a wide range of existing substrates — including tile — without full demolition, provided the surface is structurally sound and correctly prepared (learn more about microcement resurfacing here).
The longevity of your resurfacing project relies on strong mechanical adhesion to the existing substrate. If the surface is contaminated, unstable, improperly waterproofed, or poorly prepared, the system may not bond correctly.
Proper substrate preparation helps ensure:
Strong adhesion and cross-linked bonding
Long-term durability
Consistent finish quality
Reduced risk of cracking or delamination
Better waterproofing performance
Greater resistance to movement and moisture issues
Related Reading: How X-Bond Microcement Adhesion Works
Step 1: Assess the Existing Surface
Before beginning any resurfacing application, inspect the existing substrate carefully.
Key things to check:
Structural movement or cracking
Loose or hollow tiles
Moisture issues
Existing coatings or sealers
Surface contamination
Uneven areas or damage
Common resurfacing substrates include:
Cement sheeting
Rendered surfaces
Screeds
Plasterboard
If the substrate is unstable, resurfacing should not proceed until underlying issues are resolved.
Step 2: Clean the Surface Thoroughly
Any contaminants left on the surface can affect adhesion.
Remove:
Dust and debris
Oils and grease
Soap residue
Silicone contamination
Paint flakes
Loose material
Depending on the surface, cleaning may involve:
Vacuuming
Degreasing
Pressure washing
Mechanical grinding
Solvent cleaning
The surface should be completely dry before moving to the next stage.
Step 3: Mechanically Prepare the Surface
Most resurfacing systems require a textured surface profile to create proper mechanical adhesion.
Preparation methods may include grinding, sanding or other abrasive preparation. Glossy or sealed surfaces should always be mechanically opened before application.
This step is especially important when resurfacing over:
Existing tile
Polished concrete
Painted substrates
Epoxy coatings
Step 4: Repair Cracks and Imperfections
Any movement, cracks, holes, or unstable areas should be repaired before resurfacing.
This may include:
Crack filling using X-Bond system components (for hairline fractures)
Levelling compounds
Re-sheeting damaged areas
Replacing loose tiles
Resurfacing systems are not designed to hide structural issues beneath the surface.
In movement-prone areas, crack-bridging and anti-fracture membranes can help reduce the risk of substrate movement transferring through the finished surface.
Step 5: Ensure Surface Flatness
Uneven substrates can affect the final finish quality and application consistency.
Check for:
Lippage between tiles
Low spots
High spots
Uneven transitions
Depending on the substrate, skim coats or levelling compounds may be required to achieve a smoother application surface.
Related Reading: Can Microcement Fix Uneven Surfaces?
Step 6: Apply the Correct Primer System
Primers are critical for adhesion and compatibility between the substrate and resurfacing system.
The correct primer will depend on:
Surface type
Porosity
Moisture conditions
Existing coatings
System requirements
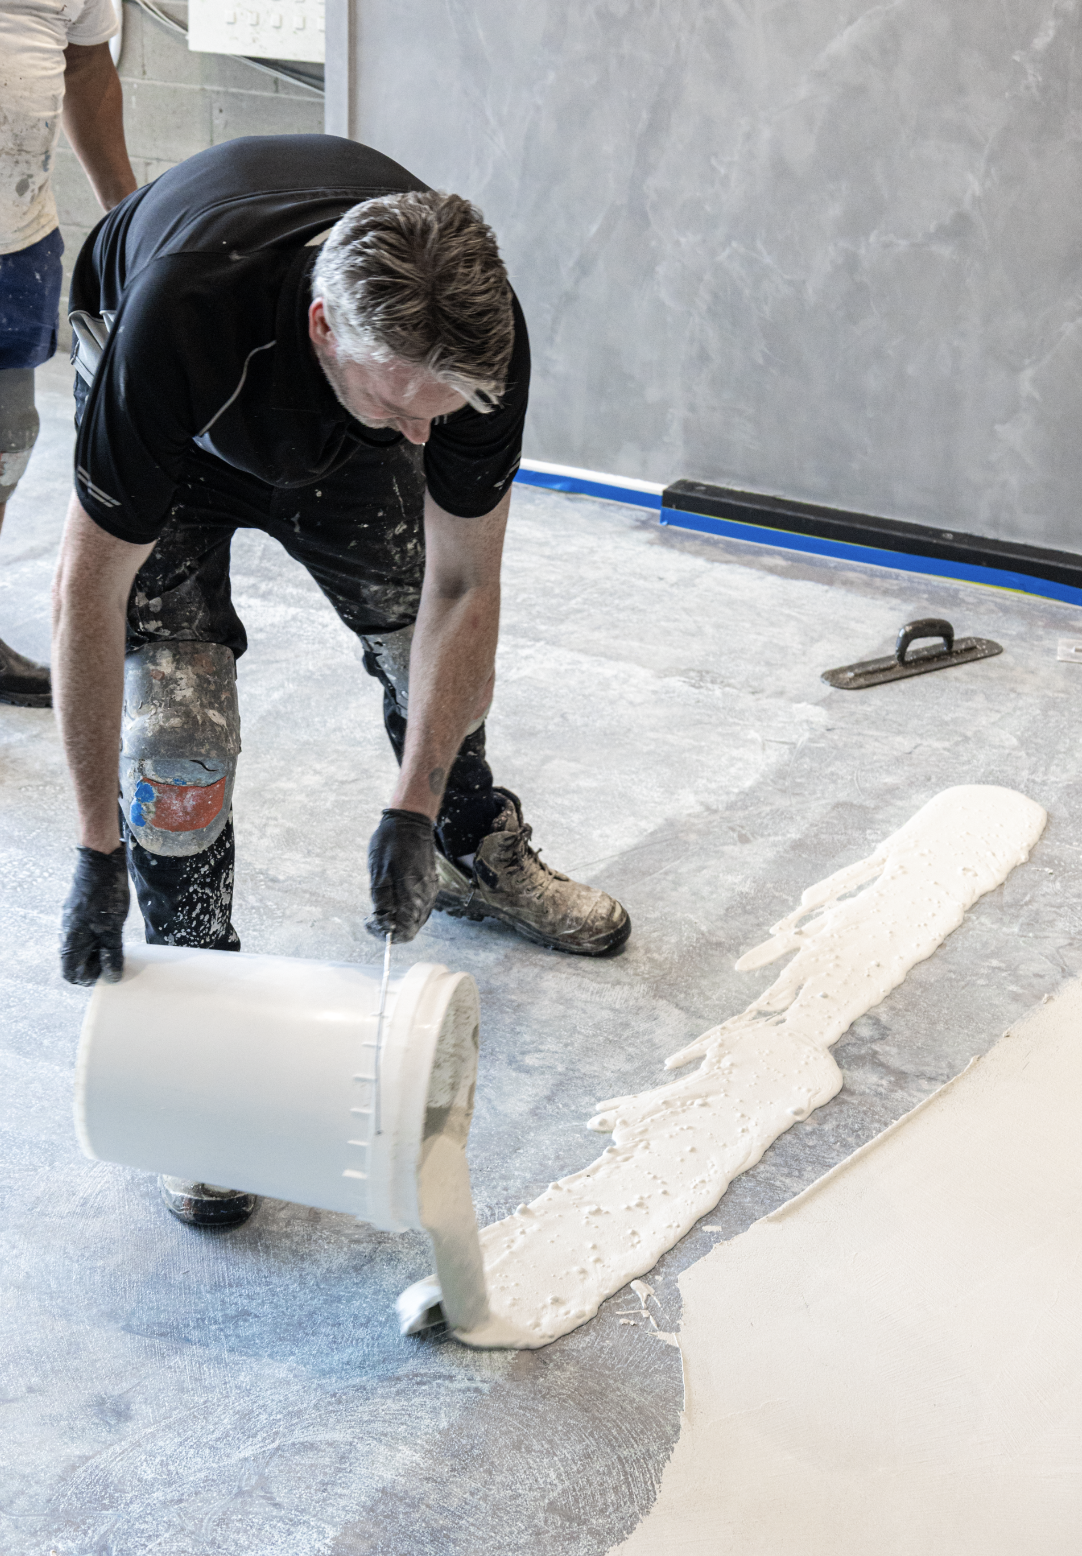
The X-Bond system comprises a Scratch Coat (or skim coat layers) as the foundation of the application.
Step 7: Liquid Membrane Waterproofing & Protection
SEMCO X-Bond heavily integrates waterproofing and anti-fracture protection into the system with our liquid membrane.
Wet areas like bathrooms, showers, steam rooms, sinks, and exterior spaces should be coated with our membrane before X-Bond is applied. This is especially crucial where waterproofing integrity is compromised, damaged, non-compliant, or affected during substrate repairs.
Read our Waterproofing Microcement Guide next.

Step 8: Allow Proper Drying & Cure Times
Each stage of the system should be allowed to cure correctly before proceeding to the next application layer.
Environmental conditions such as temperature, humidity, and airflow can also impact curing performance and should be monitored throughout installation. Make sure you follow the supplier guidelines for the materials you’re working with.
Common Substrate Preparation Mistakes
Some of the most common resurfacing failures come from rushed or incomplete preparation.
Common mistakes include:
Applying over contaminated surfaces
Ignoring movement cracks
Poor grinding or sanding
Skipping moisture testing
Applying over loose tiles
Using incorrect primers
Insufficient curing time between steps
Great resurfacing results begin long before the finish coat is applied. Proper substrate preparation creates the foundation for durability, adhesion, and long-term performance — helping contractors achieve better microcement finishes while reducing the risk of costly failures.
Investing time into preparation not only improves the final result but also protects the integrity of the entire resurfacing system.