
The X-Bond Microcement Installation Process: What to Expect
Around the world, X-Bond has become the go-to microcement specified by designers, builders, and homeowners who want a seamless and durable finish on floors, walls, and joinery. Invented by our founder in 1991, our supply chain now extends from the USA to Europe and Australia. But if you’re new to the material, it’s natural to wonder: How is microcement actually installed?
At SEMCO Surfaces, we call X-Bond Microcement a ‘system’, in that it involves multiple components beyond just the microcement itself. These elements all come together to ensure the best results in terms of both performance and appearance.
Here’s a breakdown of how an X-Bond Microcement installer achieves your finish.
For more facts about microcement’s features and benefits, read our supplier’s guide to microcement.


Step 1: Surface Preparation
Every great finish starts with a solid foundation. The X-Bond Microcement system can be applied over many existing surfaces — including tile, concrete, brick, and plaster — thanks to advanced polymer bonding. However, the substrate must be stable, level, and in good condition. The first step is to assess and prepare the substrate, which might include:
Cleaning and sanding
Repairing cracks or holes
Leveling uneven areas
Good prep ensures the microcement bonds properly and performs long-term, especially when resurfacing damaged substrates. Here’s a concrete resurfacing case study featuring X-Bond.
Step 2: Base Coats & Waterproofing
Next, base layers are applied to provide structure and adhesion. This layer is usually troweled on by hand, and might also include fabric reinforcement mesh. It differs depending on the substrate, the specific product finish, and the scope of the project — one or more coats may be required.
This can also include waterproofing. The X-Bond system includes liquid waterproofing membrane for wet areas, which makes SEMCO microcement suitable for applications such as showers and other bathroom surfaces, sinks, steam rooms, exterior walls/floors/rooftops, and submerged in pools.
Liquid Membrane application over concrete
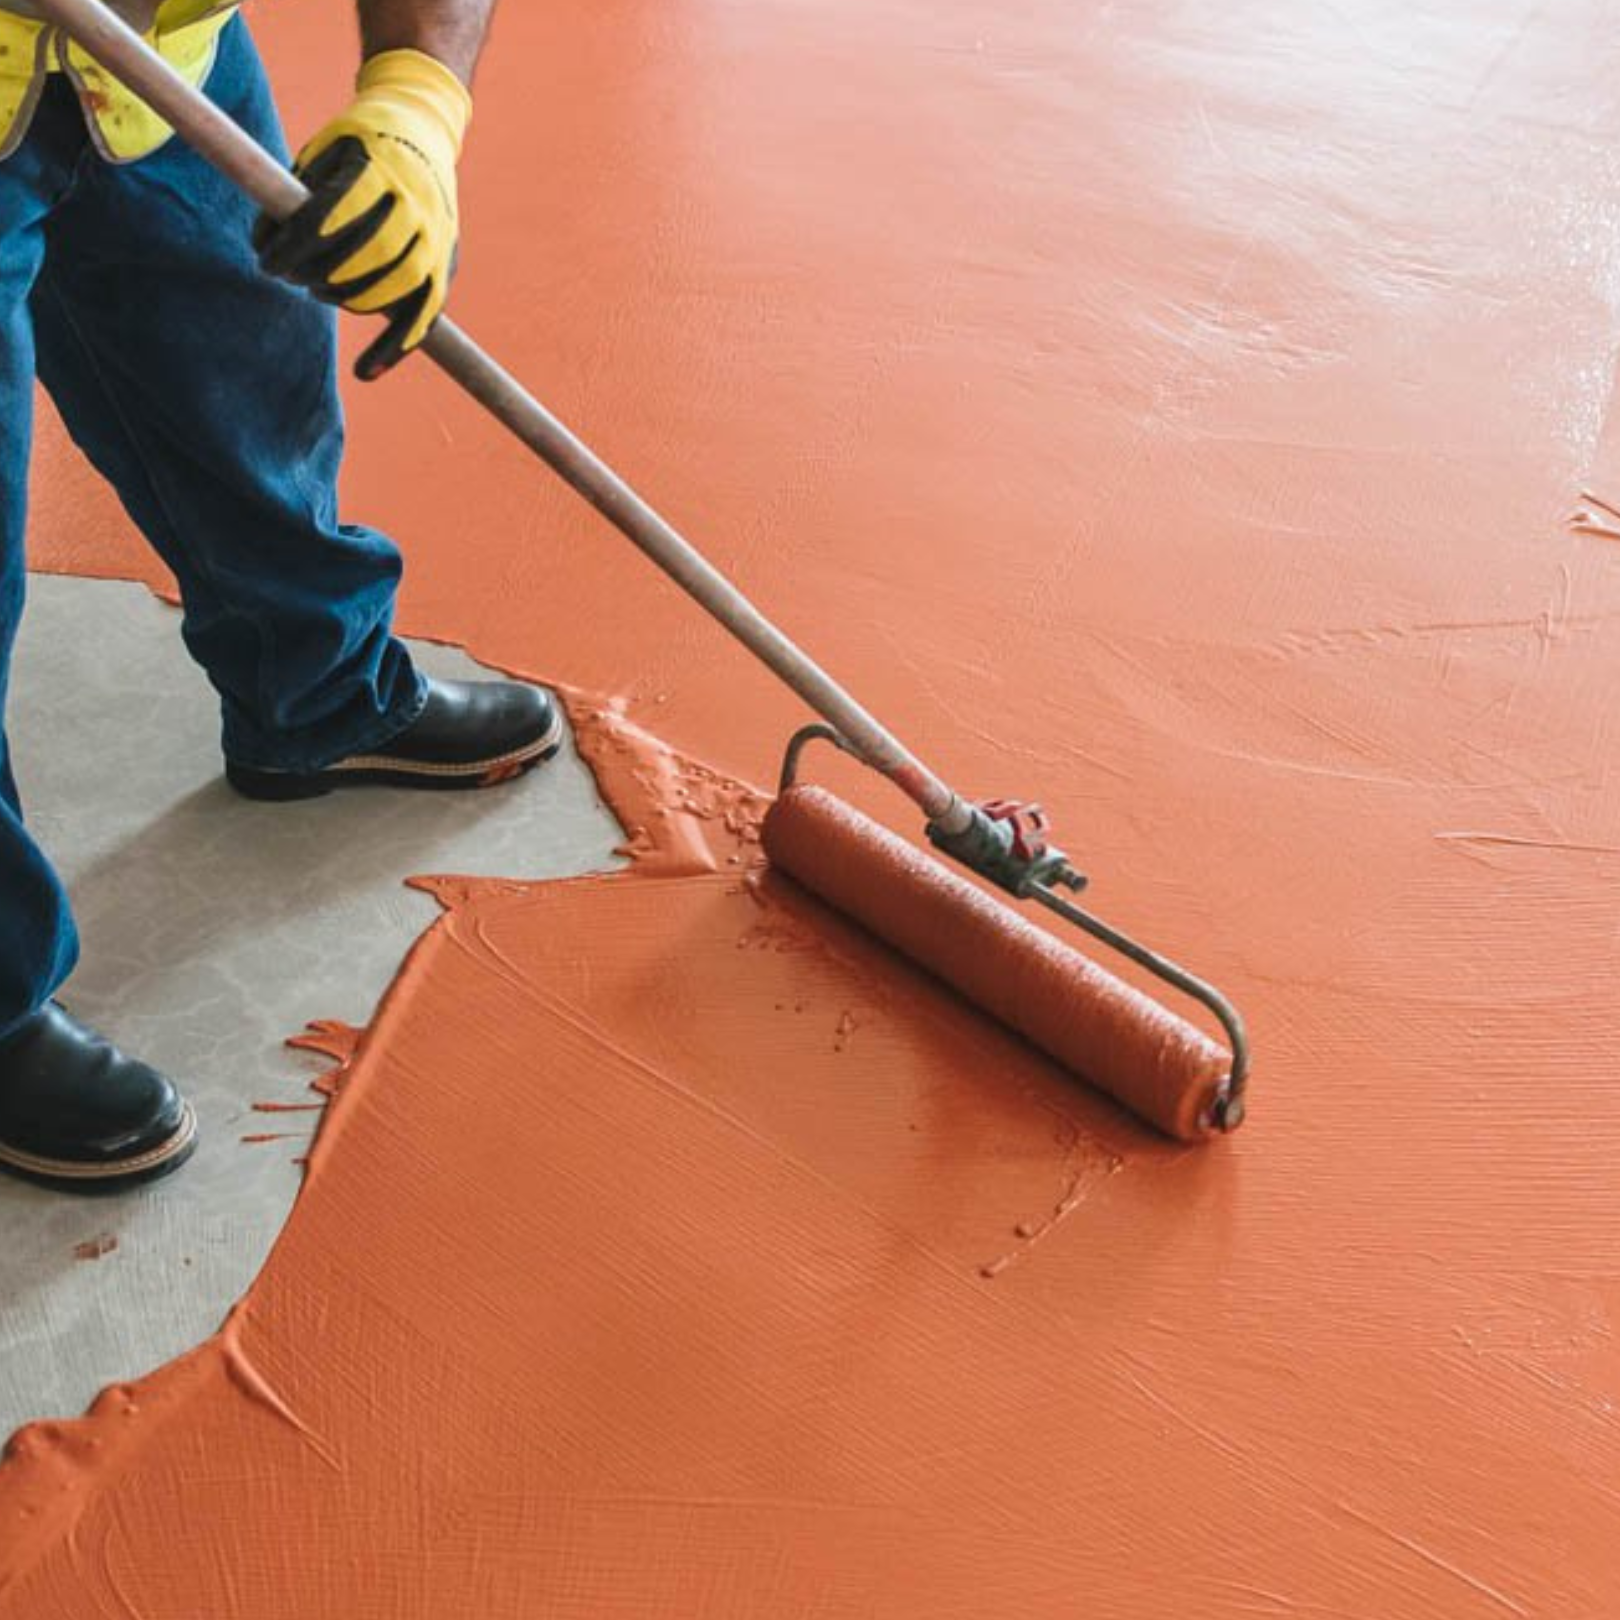
Step 3: X-Bond Microcement
Now for the part that defines the final aesthetic. X-Bond Microcement is hand-trowelled in thin, seamless layers, typically building up to a total thickness of 1/8”. Color is mixed into the formula before application, so each layer is pre-pigmented (you cannot paint X-Bond after its application).
Keep in mind that microcement is a hand-applied render, and subtle trowel marks or tonal variations are part of its natural character. In saying that, we’ve designed five texture options in our range with differing intensity of visual effects: Corsa, Vellum, Polished, Solid, and Grain.
Step 4: Sealing for Protection
Once the final coat has dried, a clear protective sealer is applied to enhance durability. Our high-performance sealers protect the surface from stains, moisture, and wear. Depending on the project, different types of sealers can be used. The sealing step is key to ensuring microcement can be used in all settings with confidence.
How Long Does It Take?
While timelines vary based on the size and complexity of the project, most residential installations take between 3 to 5 days from start to finish. This includes drying times between coats, which are essential for a long-lasting result.
Curing time once sealed varies depending on factors like the sealer chosen, the humidity and ventilation in the area. Your installer will be able to give you advice on how soon after installation you can walk on and furnish your X-Bond floors.
Finding an Installer
We consider X-Bond Microcement a specialist finish, and correct application is crucial. At SEMCO Surfaces, we work with a trusted network of trained installers across the United States (and the world!).
If you’re planning a project and need help finding the right professional in your area, our team can connect you with an approved X-Bond installer who understands our system and can bring your vision to life. Ready to start your microcement project? Click here to find an installer.

